
Microcement: what every architect and interior designer needs to know before specifying it
Microcement is one of the most versatile and visually compelling finishes available today — seamless surfaces, endless color palettes, and the ability to cover floors, walls, and countertops in a single material.
But its reputation for cracking, staining, and uneven color almost always traces back to one cause: poor application. Here's how to get it right from specification to final seal.
Microcement application
The correct application process — layer by layer
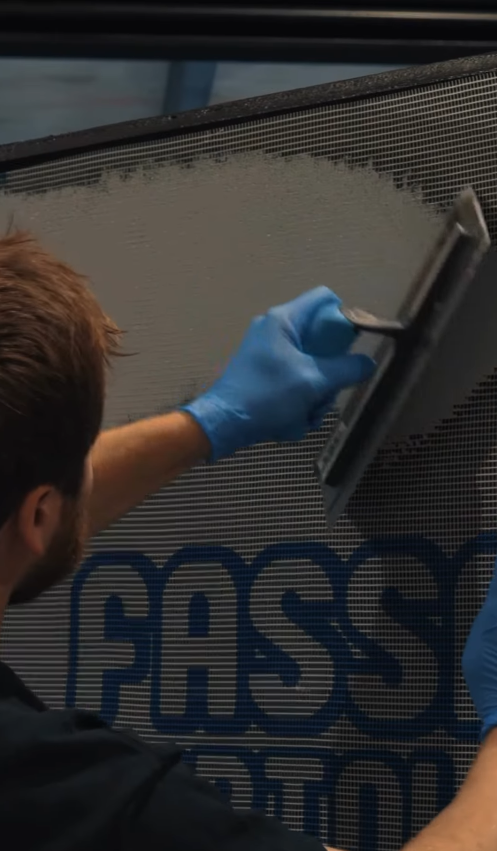
Microcement is a system, not a single product. A successful finish depends on substrate preparation, primer selection, the number of coats, sanding between layers, and sealing — and each step must be done in the right conditions. The substrate must be structurally sound, dry (under 4% moisture), and primed with a compatible bonding agent.
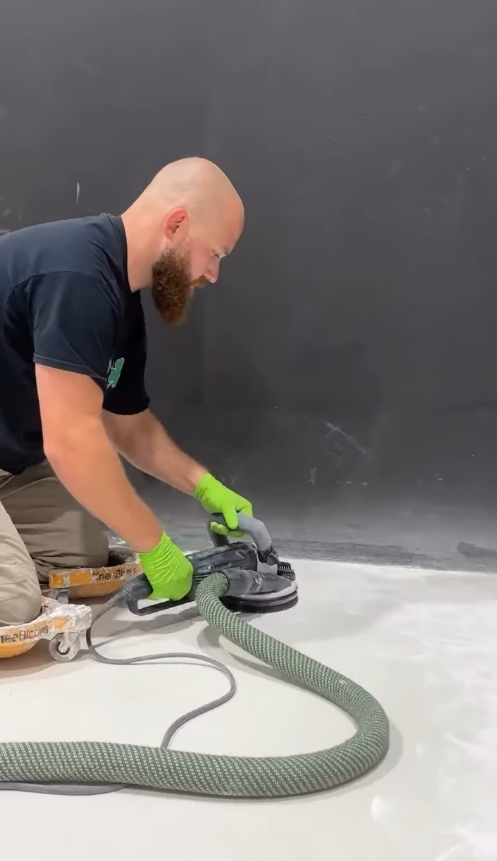
The microcement itself is applied in a minimum of two thin coats using a stainless steel trowel, each allowed to cure before sanding lightly with 120–180 grit to improve adhesion for the next pass. Thickness per coat should stay between 1–2 mm — thicker applications crack. Once the final coat is set, a sealer specifically formulated for microcement is applied in at least two coats to protect against staining and moisture penetration. The entire system typically requires 48–72 hours of curing before light foot traffic.
Specify the number of sealer coats in the project sheet — not just "sealed." Two coats is the minimum for walls; floors in kitchens or bathrooms need three or four, with a matte or satin polyurethane topcoat for daily-use durability.
Microcement application
What goes wrong — and why it always shows up after handover
The most frustrating aspect of microcement defects is their timing: cracks, color patches, stains, and delamination typically appear days or weeks after the finish looks perfect. Cracking almost always signals a substrate problem — movement joints not respected, moisture trapped beneath the primer, or coats applied too thick.
Blotchy or inconsistent color usually means uneven primer absorption, different drying times between areas, or a sealer applied before the microcement was fully cured. Staining — especially on kitchen counters or bathroom floors — means insufficient sealer coats or a sealer not rated for the exposure level. And peeling or delamination points to a primer incompatible with the substrate, or application on a dusty or oily surface.
Never apply microcement in direct sunlight or in areas below 10°C / above 30°C. Temperature and humidity directly affect open time and cure rate — conditions outside this range cause uneven setting that no amount of sealer will fix.
The finish is only as good as the system behind it
Microcement rewards precision. When the substrate is right, the layers are correct, and the sealer is matched to the use case, the result is a surface that ages beautifully and requires almost no maintenance. When any of those steps are shortcut, the problems arrive right as the client moves in. As a designer or architect, specifying not just the product but the full system — primer, compound, coats, sealer grade — is the difference between a finish that defines a space and one that becomes a liability. Our technical team is available to review your specification before application begins.